Monday, January 26, 2015

Update - Enjoying our vintage trailer!

Hello everyone- It's been a long time since I posted and thought I would share some photos and a brief update.

Over the last couple of years we've taken many trips with Katrina and had a lot of fun! She has never surprised up with any breakdown or road repair - I think she is grateful for being saved from spending the rest of her life at a hunting camp!

We've made improvements and finished small projects a little at a time- adding a bumper with bike rack, converting the old heater opening to a liquor cabinet, adding ventilation for the refrigerator and other items.

I am looking for a new dropped axle for her as the brakes and bearings are difficult to find and modern brakes would be a welcome addition. 

The farthest we've ventured to date is Canada going about 1800 miles over the course of our travel no problem at all. We also attended our first vintage trailer rally in October of last year - what a blast that was!  We plan to do a few more this year.  Katrina was a big hit and we received many - much appreciated - compliments.

The next addition will be a vintage vehicle to pull her with- looking at early station wagons, Travelalls and Suburbans. I do currently own a 1961 Chevrolet 2 dr sedan that is under consideration as well. A diesel conversion would be ideal although I am thinking a GM LS engine swap would be more in order. Stay tuned for that - I may even blog the build.

Beyond that I may just decide to do another one - I will know what to look for and how to reduce the time and effort in completing one if I do that is for sure!

Anyway here are the photos - enjoy!

Champoeg State Park - October 2014 Vintage Trailer rally

It was amazingly beautiful with unseasonably warm weather- Perfect!

See the open sign in the front window?  There were about 60 vintage trailers open for touring at times, it was awesome to see so many great old trailers!

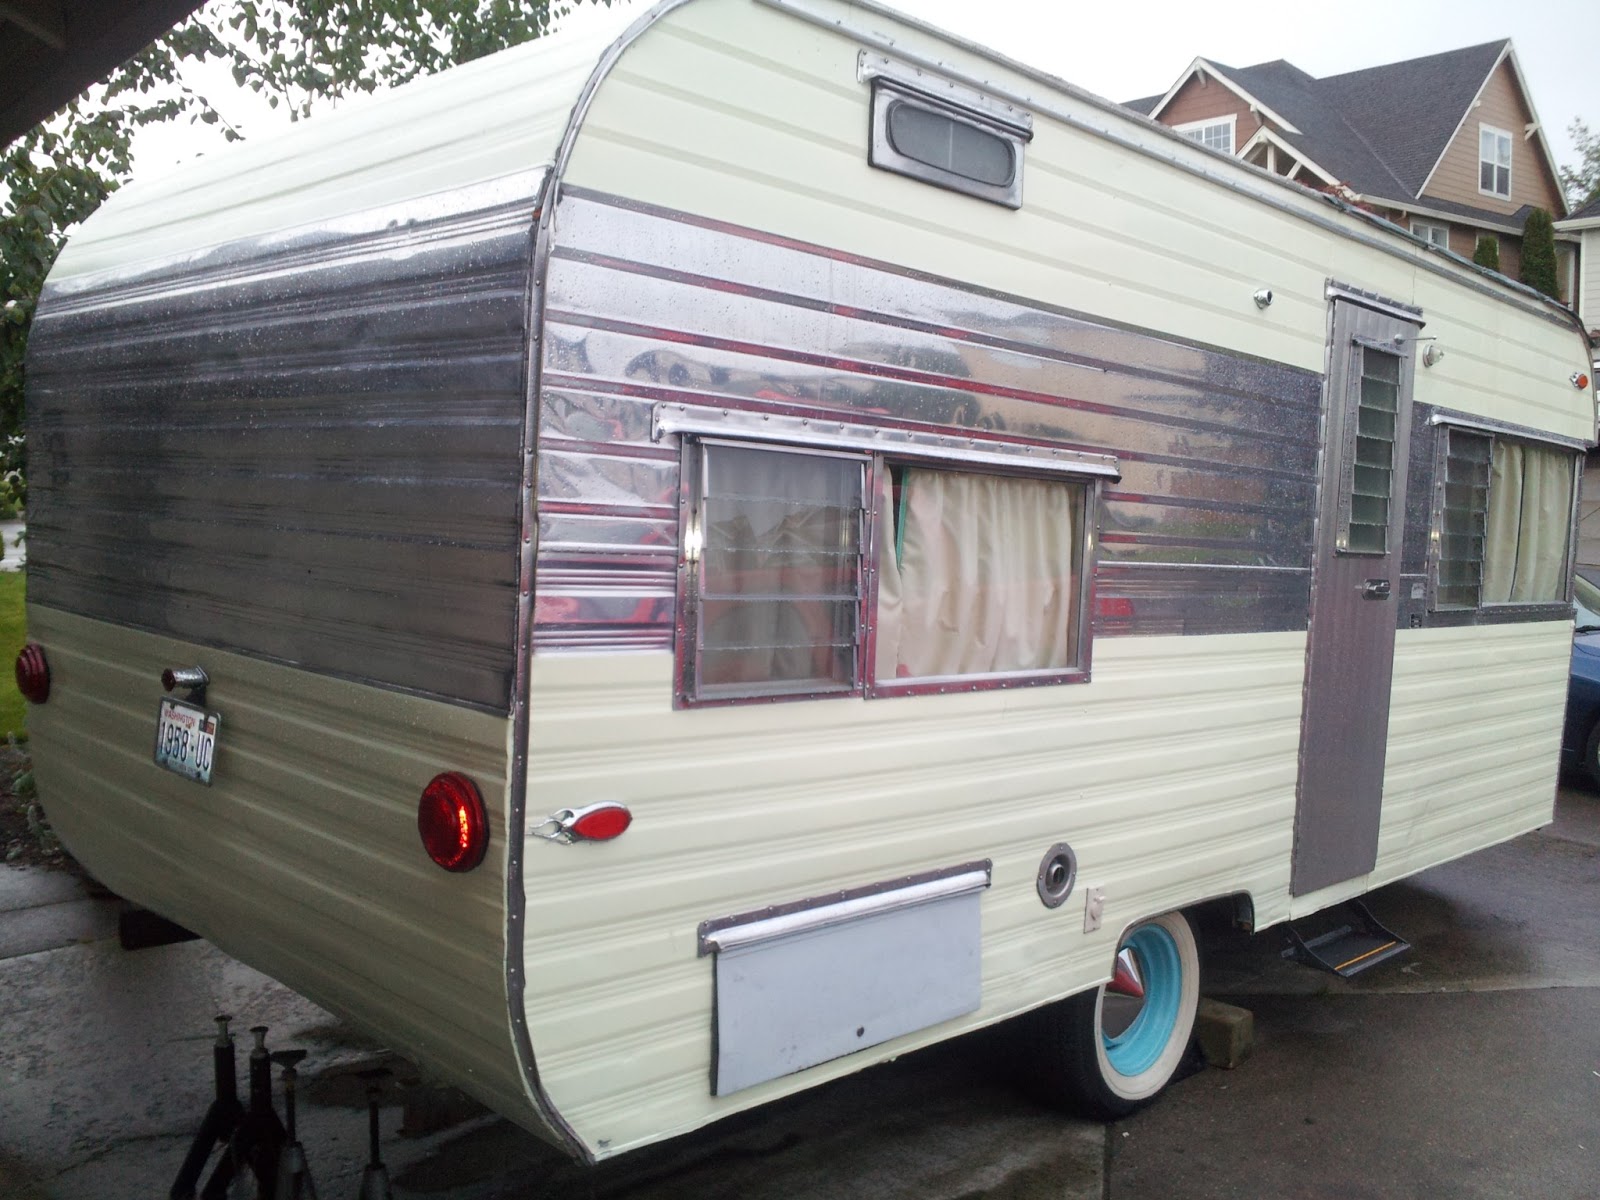
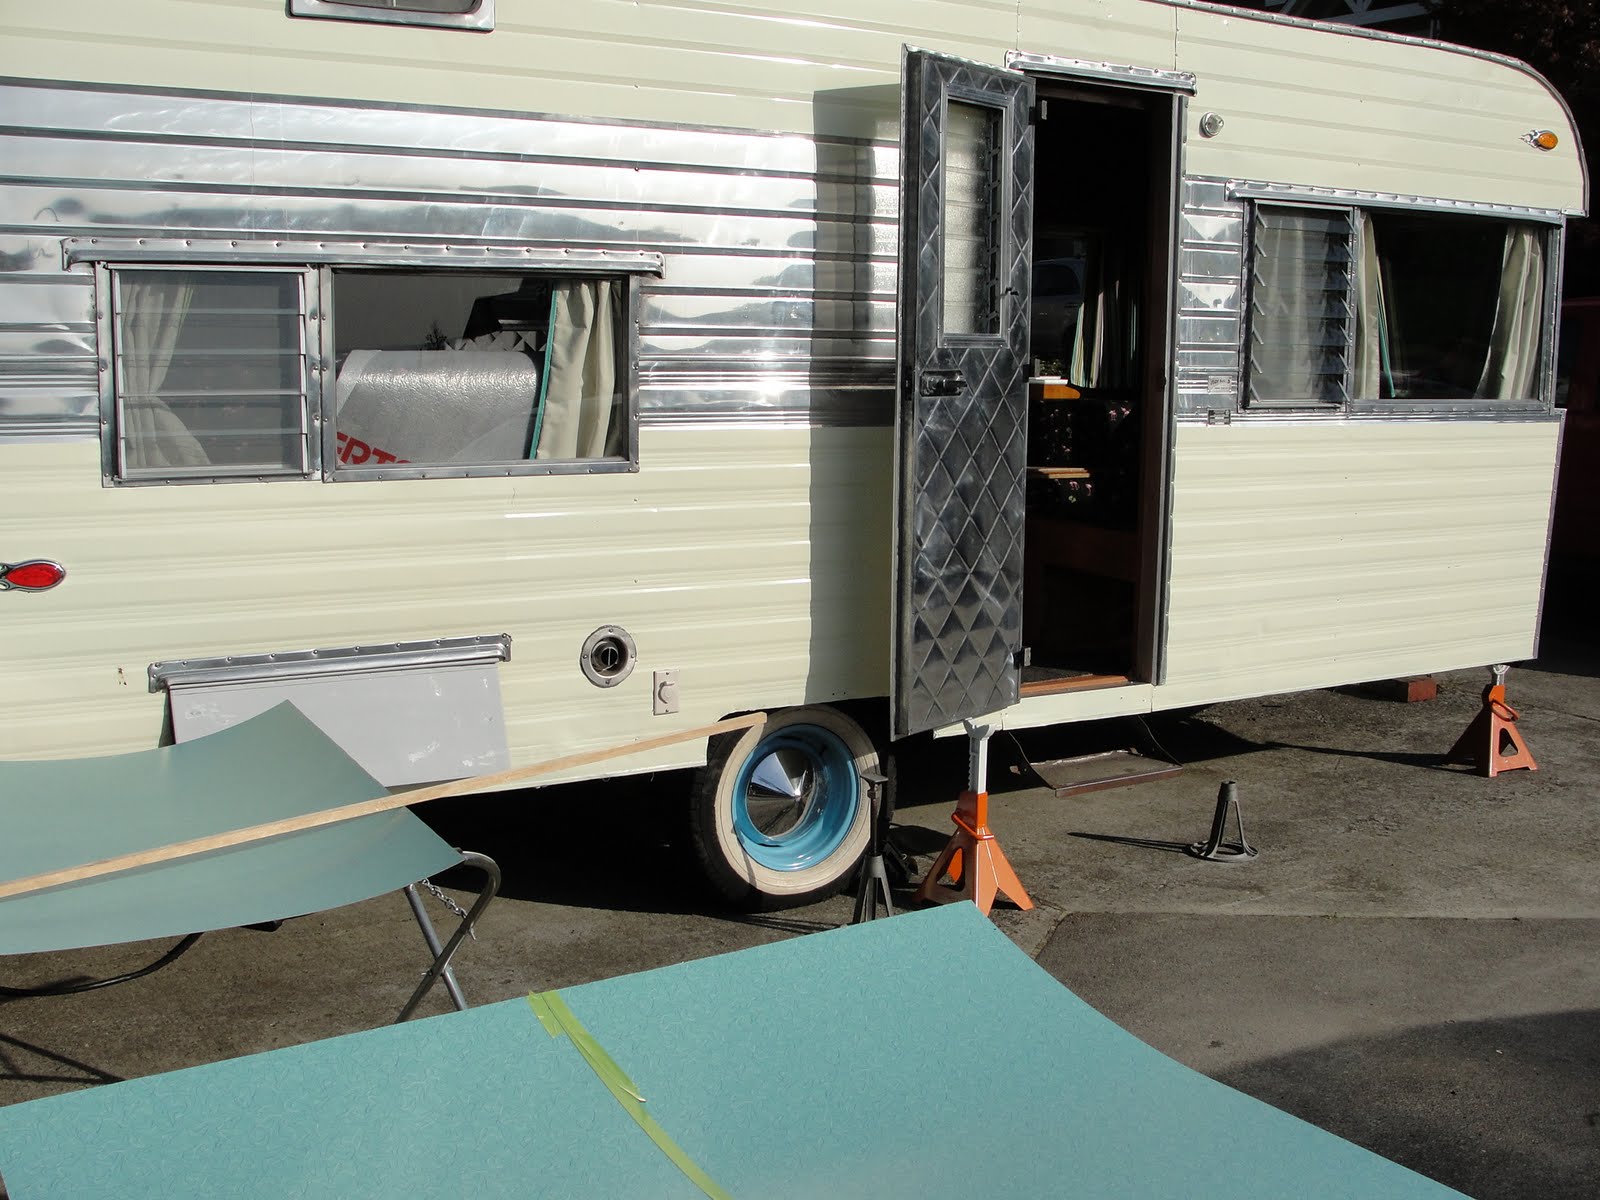
Built the bumper and added a bike rack

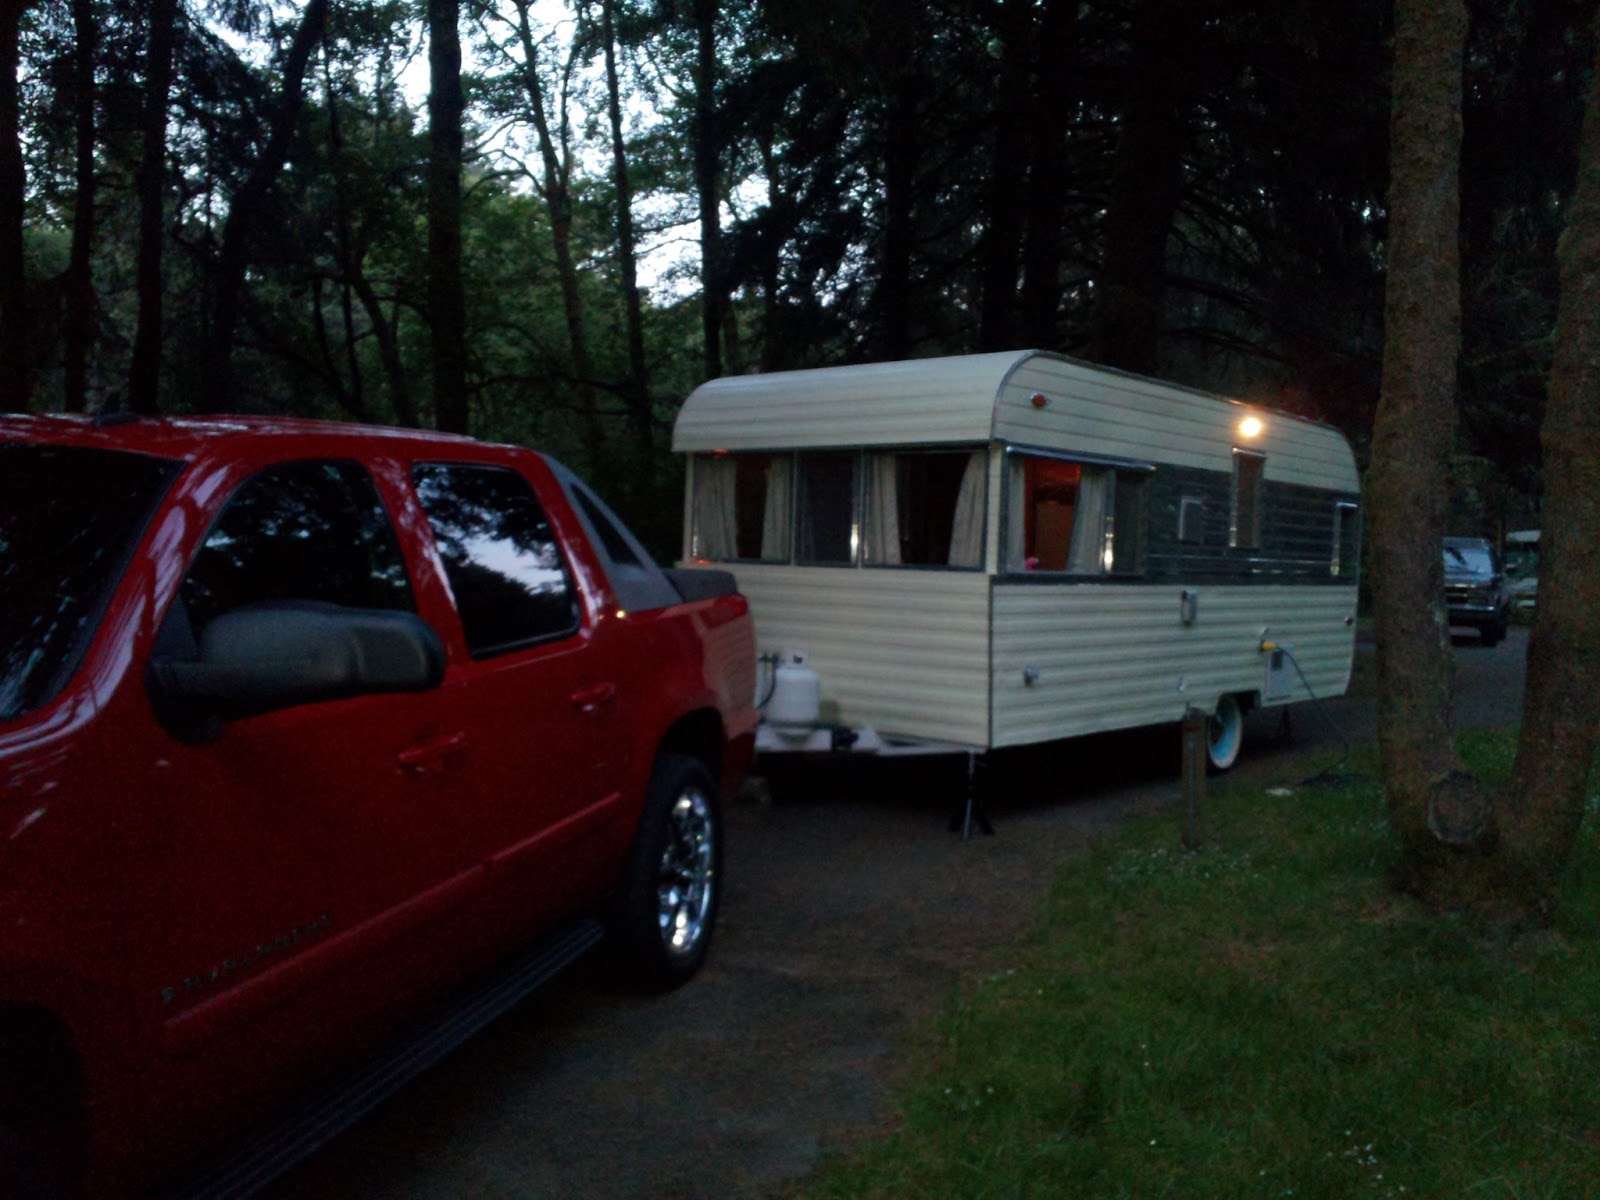
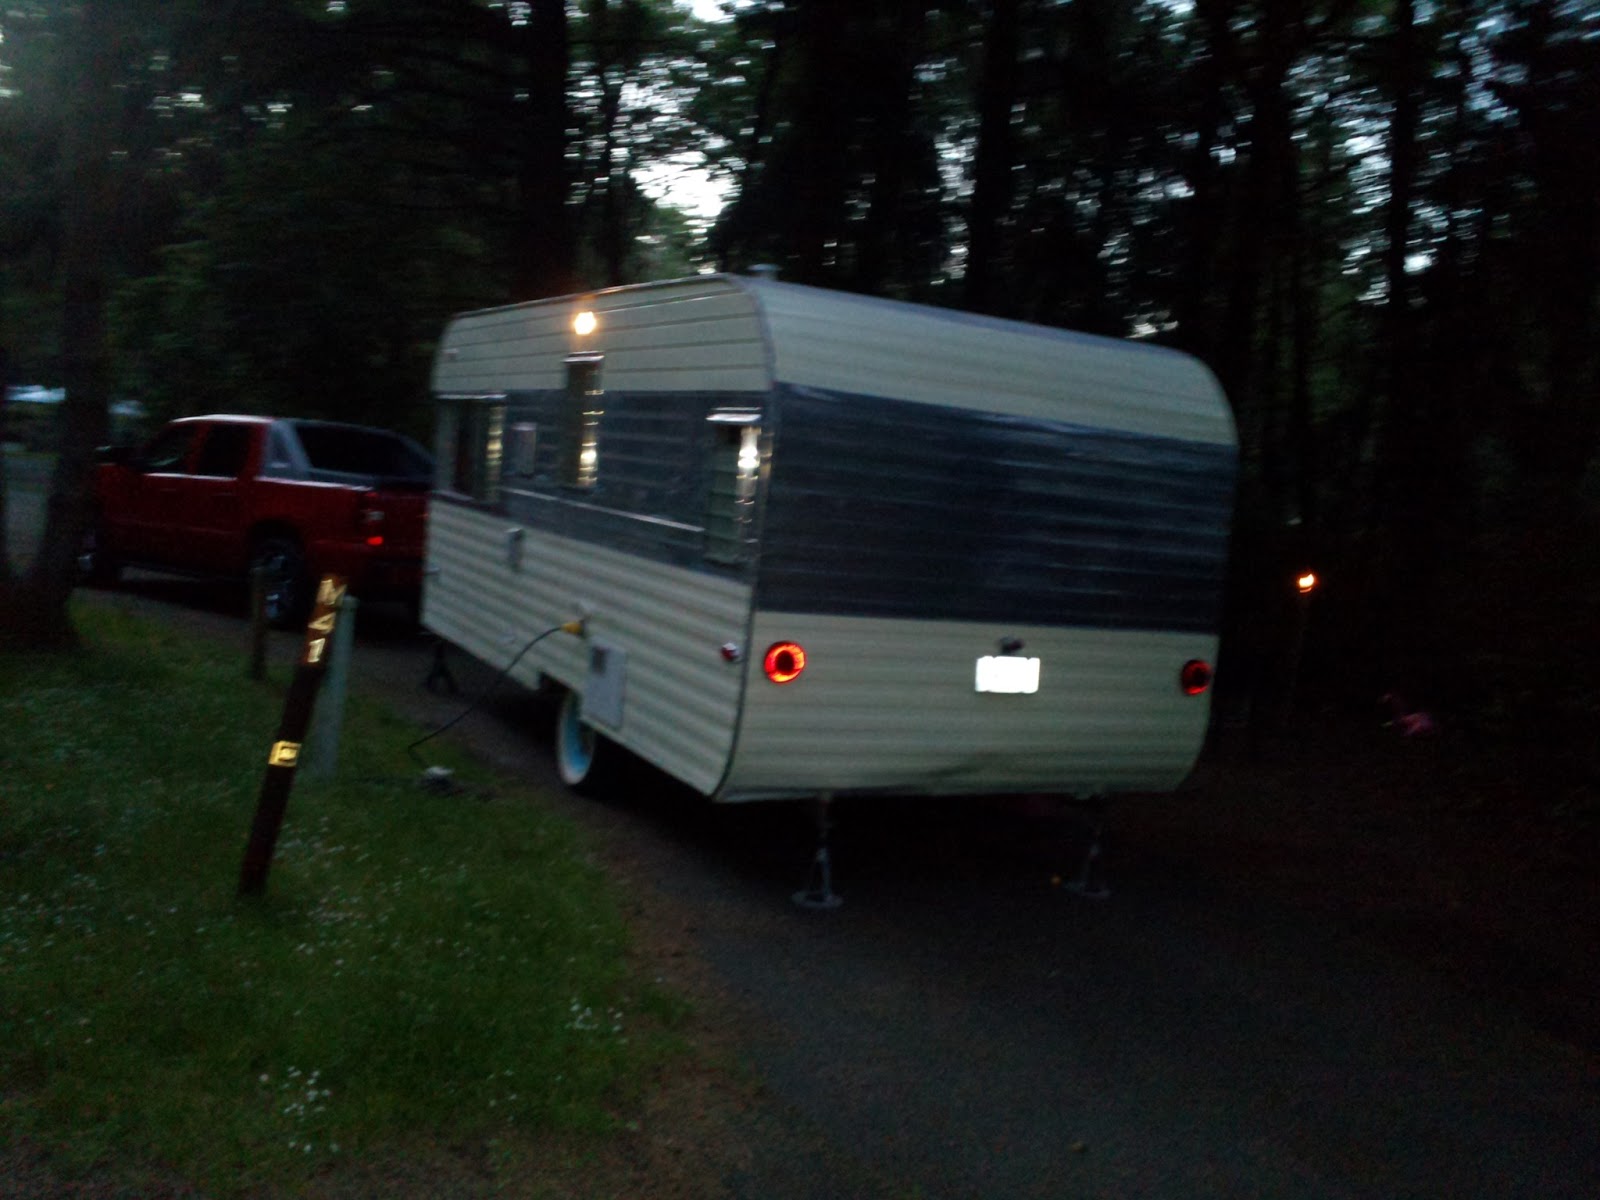
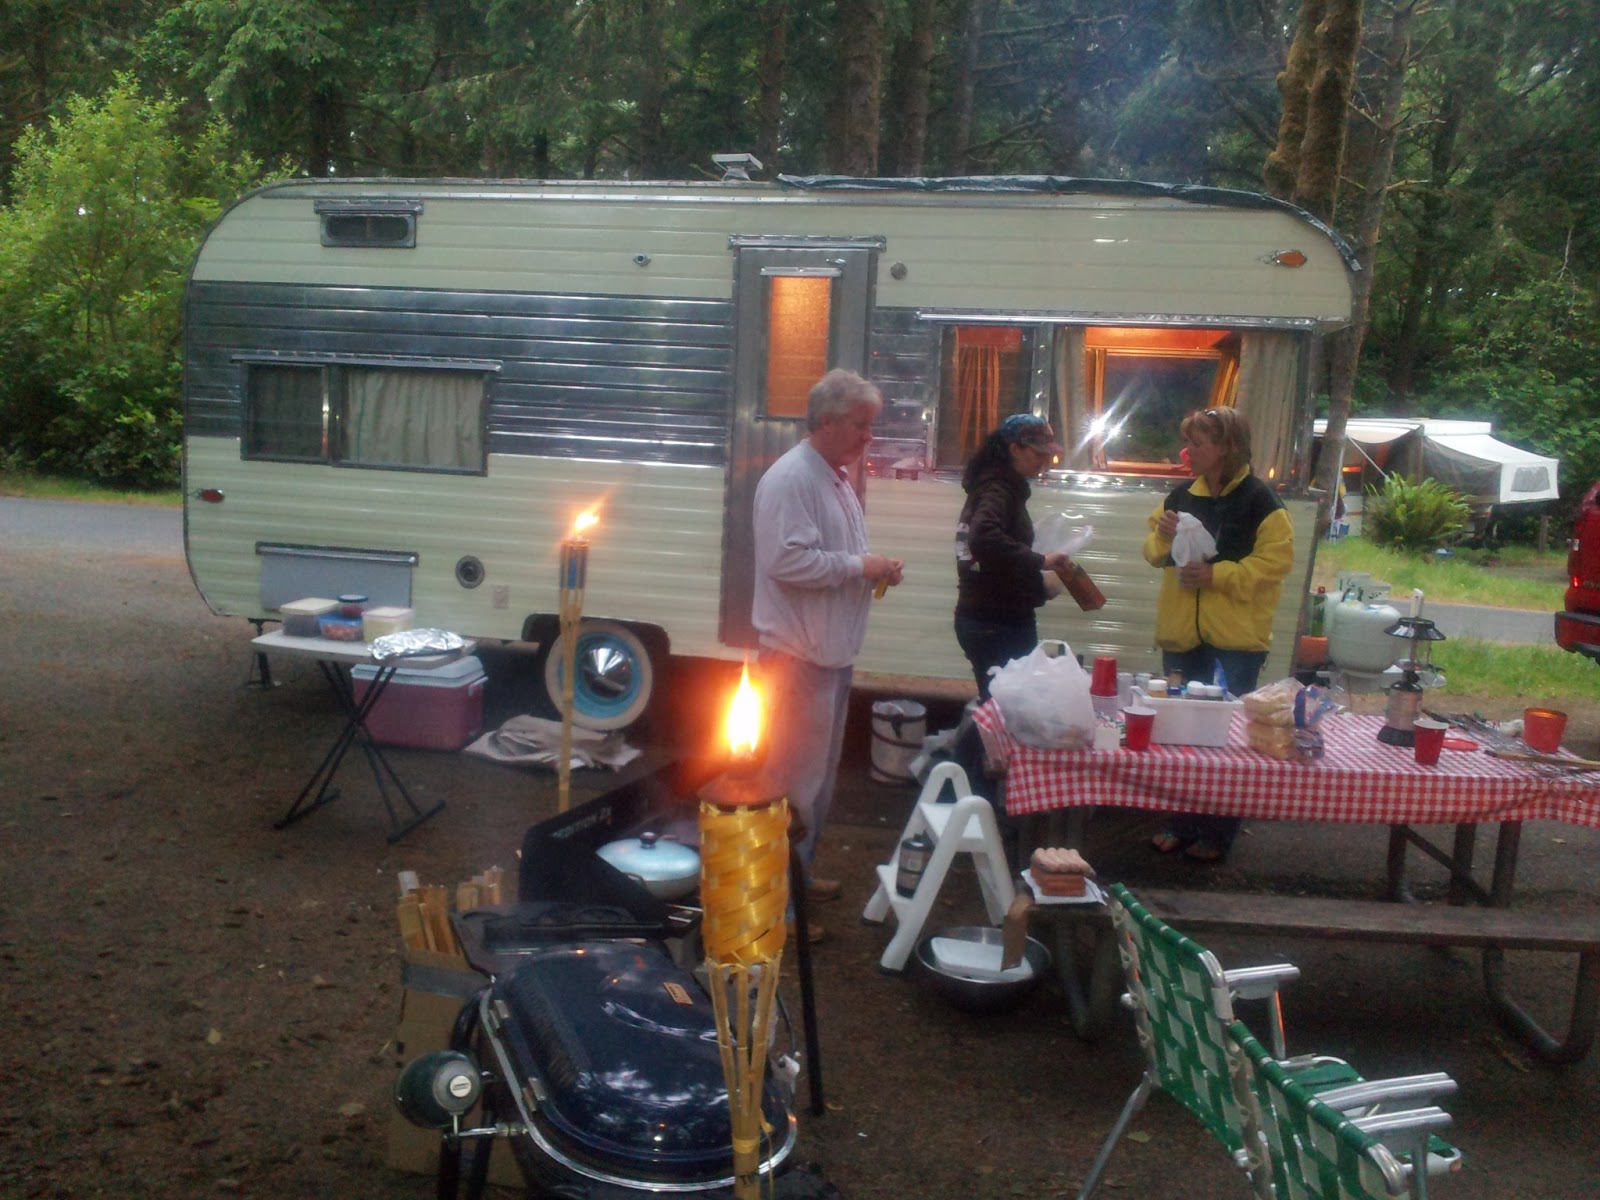
The next few pics are camping at Millersylvania State park in Washington. It poured down rail one day and not a drop leaked inside- woohoo!

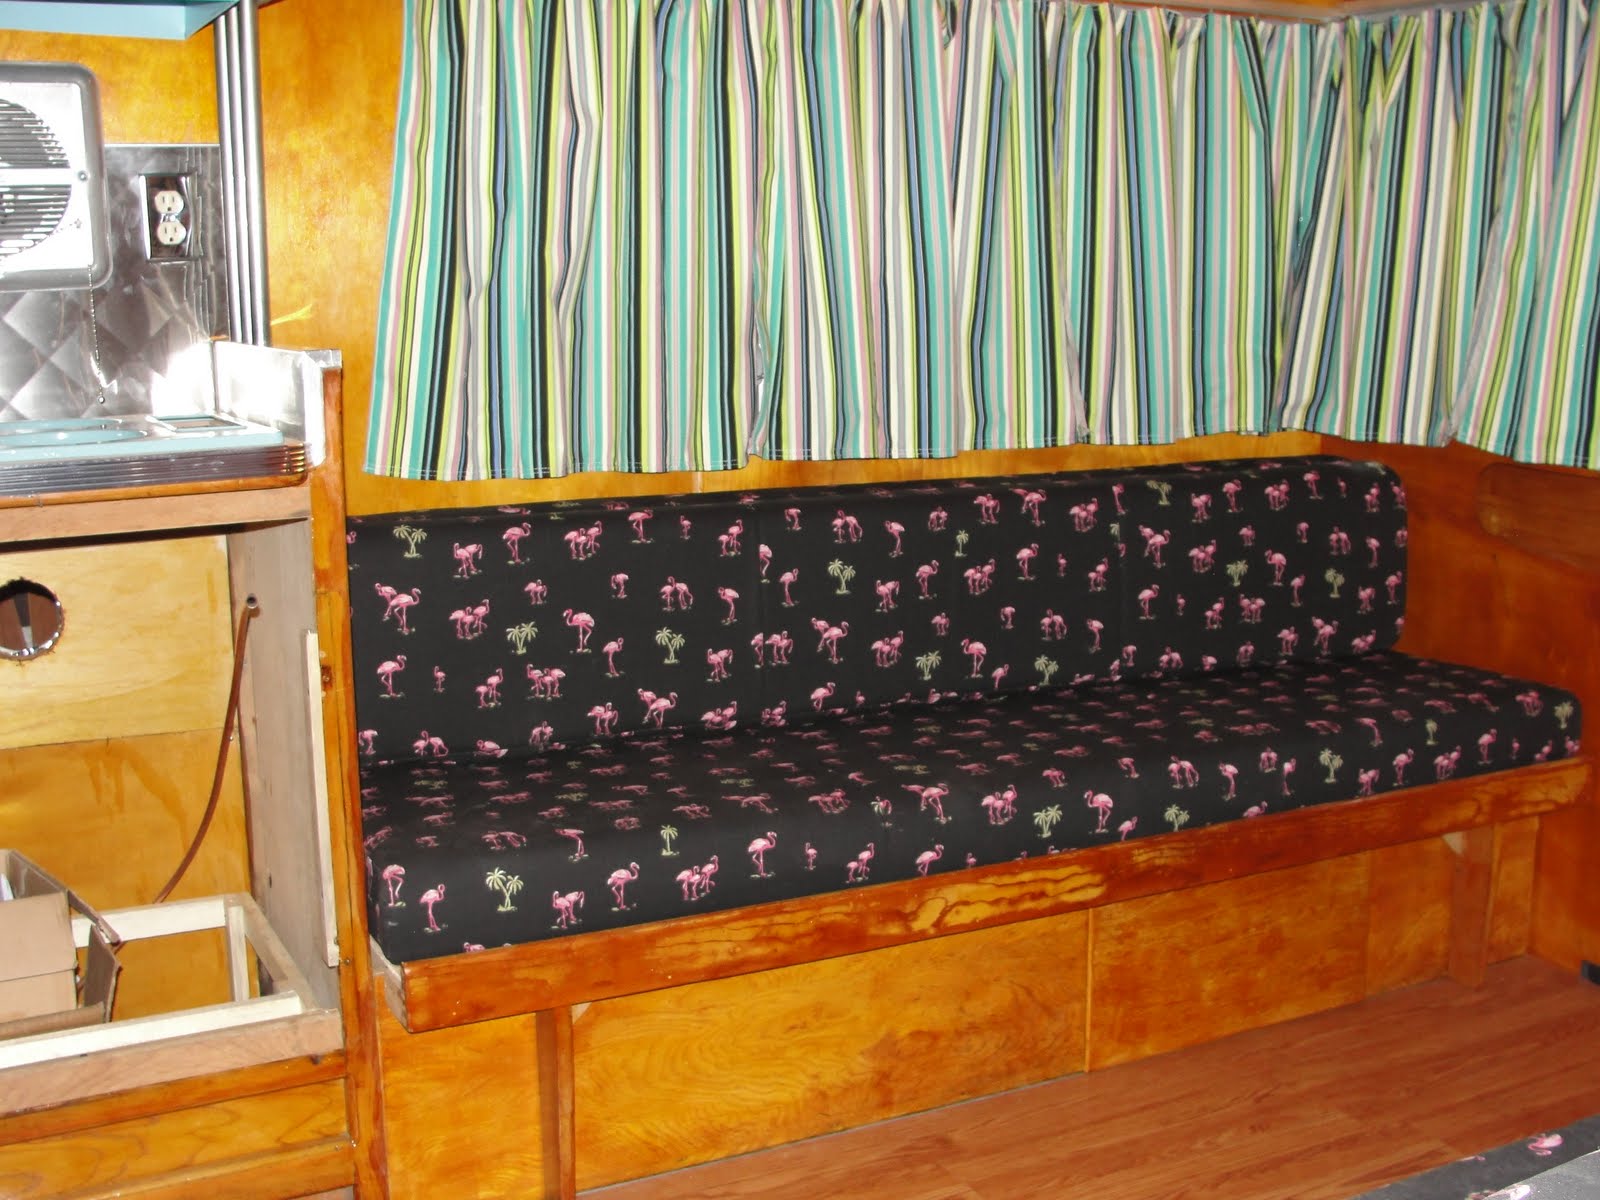
The Palm tree and Flamingo light were a gift from my brother to Lori - very nice


I decided to buy a vintage table rather than build one and it fits perfectly! I plan to modify the legs so that they fold down like the new trailers.


Well that's it for now - thanks for looking!

Wednesday, April 3, 2013

April 2013 -

t's been quite awhile since we last posted so here is an update....

Katrina is mostly completed, I have yet to build a rear bumper and have decided to overhaul the axle plus there are a few odds and ends. Honestly just got burned out on working on her every weekend. I plan to finish all the little details over this Spring and Summer while at the same time taking more trips with her.

She is stored in a covered RV shelter now and we have a weatherproof cover as well.  We have taken her out a few times without any big issues.

Here are some photos:

In the driveway at home, all the neighbors seemed to really like it


From the back, still needs a bumper

I need an appropriate tow vehicle, an old suburban or station wagon-

This is us with Friends in Ft. Stevens OR - 2012

It poured down the last day and we found a very slight leak (DAMN IT!!) so put a tarp on the front-
2nd application of  roof sealer coming up!

Fun with Friends

Here are some shots of the inside, we love the warmth of the Birch and tones brought out with shellac-


Sunday, May 6, 2012

May 2012 Quick Update...

Well we are back at it after taking some time off. Katrina has been in enclosed storage since last fall, we decided to take a bit of a break and recover from the 14 month marathon of learning and working.

We started back in on her last weekend as the weather finally has warmed up... The Northwest winters seem to be longer and grimmer as time goes on!

Since the trailer is stored close to home now and is not an hours drive each way we will be working on her in our driveway... We plan to take her out mid June - reservations are made and we are travelin with friends so we better be ready!

Anyway here are the updates in the way of photos:

 Getting the plumbing in:


12 volt pump all mounted, I used the original aluminium water tank

I used PEX colored tubing, red for hot blue for cold and all the fittings are SharkBite - made the install painless - pretty much

The hot water heater, I installed a bypass kit for winterizing

Here is where the city water and stored water join... under the oven.  I'll post more photos as I do the kitchen sink, gray/black tank and  sewer  connections

Here is the pedestal for the toilet, tile installed and water run for toilet

Another view - I will have an access door in the front whee it is now open 


Just making sure that it all fits together, will disassemble for final install. Still scratching my head  about venting the black tank - I do not want to go all the way to the roof as it would look kinda tacky to run a vent pipe up the wall - any ideas?

Another view...yup all porcelain 

Putting the counter top down, I was able to get some of the last sheets of Aqua Boomerang from Formica prior to the discontinuation of the color 

There she is in my driveway - all the kids in the neighborhood love it ...so do some of their parents


Here is the kitchen as we fit the formica

My helper, pretty jazzed that her trailer is close to finally being done - inaugural trip is planned for mid June

It is nice and cozy inside

Still need to trim and cut out for sink & cook-top

That's it for now - more soon!

Wednesday, October 5, 2011

Quick October Update

We have been busy on a lot of small projects trying to complete her.  It 's been a bit difficult to devote the time to her but we inch ever closer to completion...


Here's the door, I re-skinned it and added the jalousie window c- looks and works great!

It seems I've been working on her forever...

Water heater installed as well as the power outlet - they both look better then I thought and i will be painting the  water heater cover to match

The curtains were made with black out cloth and it really works! Pitch black when shut even during the day, plust hey now offer great UV protection 

The water tank fill cap, I had it polished and it turned out great


The water storage tank all installed, we used turnbuckles and cable - Lori did a great job  fastening it down


I painted the fridge to match the "new" appliances - which are all powder coated aqua

So fitting the oven and cook top required some modifications - SURPRISE!!


With everything in the trailer gets quite warm for me while working so I bought a retro fan to use, it matches the theme perfectly and works amazingly well, really quiet and smooth, made in the USA back when we made the good stuff


I built a stand for the oven to rest on in the cabinet

Cabinet partially prepped for the oven


Stand installed....


I ripped this piece of wood in half to fill the gap at top and bottom, came from the bunk bed  frame so will match once shellacked 

I assembled the oven completely for a trial fit 

Looks great and has a lot more character then the original 

Same with the cook top, measure, cut, reinforce....

Here is the dinette area with cushions and curtains - everything is matching up nicely


I tried to get a photo without flash - it looks warm with all the colors coming together


Here is the counter area after I installed new plywood - I also added the retro aluminum edge trim.  I'll be installing Aqua Boomerang Formica next.  The table I am planning to build will also have the trim and Formica to match.

A few more views without the flash

You can also see the vintage style fan here (the exhaust fan in the wall behind the cooktop), from the great folks at Vintage Trailer Supply

We are very happy with the results

My very good friend Jim Anderson did a fantastic job on the upholstery and curtains

With flash gives an idea of the color


Table will be next for inside, after counter and hooking up appliances, testing the propane stuff will be fun...