I've also started pre-finishing the Birch for the interior in my garage at home; something I should have done with the front area (especially the ceiling). Although the shellac is simple to apply and drys fast it is messy when reaching overhead. I still need to complete the application of shellac up front and apply a second coat to what I started on as well. I bought a lambswool applicator and man what a difference in application! Fast too, I completed 4 sheets in about a half hour (first of 2 coats). I'll do the final finish - similar to French polishing -when everything is done with the exception of the floor.
I have a new helper (more then a helper really as he has some great ideas) - my son Taylor started helping me this past Saturday. Quite a trooper as it was in the 30's to low 40's the whole day. He is quite a good engineer and a hard worker. Lori helped on Jan 2nd and will be back when it gets warmer (can't blame her at all)... It's great to spend time with my son and I really appreciate his help and ideas.
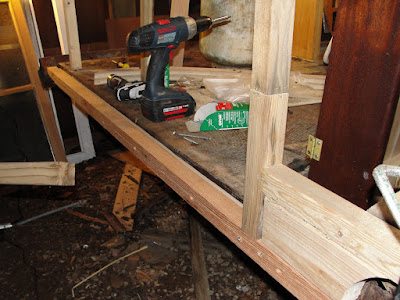
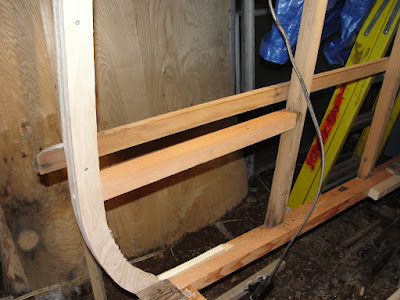
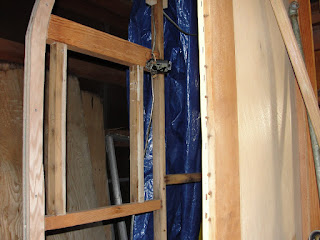
The following photos are of the building of the rear curved framing and installation- as well as repairing the remaining dry rot.
Sunday January 2nd:
| Here's the pattern on the oak plywood (2nd) sheet I bought - looks almost too nice to use for framing |
| My new jigsaw, got it for Christmas |
| Great blades are a must |
 |
| Drawn out and ready to cut the first of four |
 |
| Nice grain... |
 |
| My attempt at keeping warm in the cold damp NW winter |
 |
| Here is the installed framing on the street side - one corner to go! |
 |
| The lower portion - I've not filled the floor yet as I want to get the gray/black water tanks installed first |
 |
| I attached 1x2's between the pieces I fabricated and the cabinet to insure a good fit for the paneling and skin |
 |
| My best buddy using the jig saw - first time and she did awesome! She may be cutting all the Birch for the interior as the edges were nearly perfect |
Buddie
 |
| My regular befuddled look and several layers of clothing help me look like the prefesshinal I R! The curb side framing required the usual replacing of rotten wood and head scratching |
 |
| A better view - luckily the floor is solid here |
 |
| The next restoration I'll know what to do... hahahahahaha! Next one...right! |
 |
| Using the oak plywood and 2x2's I made from old rough cut lumber sure makes a difference - solid and fit is good! |
 |
| End of day photo - will finish this side next... Saturday January 8th |
 |
| Just as I left it...wish the elves would sneak in and do some work |
 |
| My son Taylor dug right in - he is a worker! He designed a mounting bracket for the gray water tank first - more on that later |
 |
| Good to have him here as he is a meticulous worker and I am ready to be finished with the framing. He kept the quality on track |
 |
| Odd that the curb side and the street side do not match at all, they are asymmetrical... I imagine like the houses of the era all was cut to fit as needed |


No comments:
Post a Comment