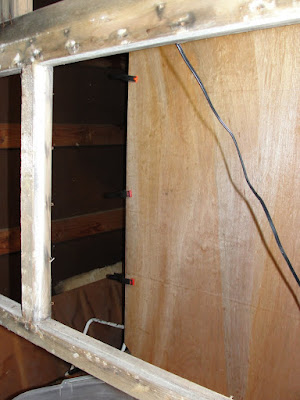
The series of photos below is of building patterns for the curved framing sections for each rear corner. I bought a sheet of 3/4" hardwood plywood rather then the crappy "big box" plywood I used for the front. I purchased a "blem" from a local lumber store paying less then I did for the stuff I bought for the front.
I patterned the pieces on the rear cabinet which has the proper top and bottom radius...it made it much easier to fabricate and install.
 |
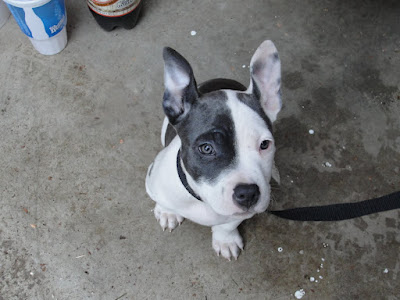
| Here's the new mascot for my buddy Jim's shop.... Holly Berry - she is a great dog! |
 |
| Kinda hard to visualize but this is the pattern plywood attached to the rear cabinet with clamps - using the cabinets for patterning worked out very well |
 |
| Another view - hard to get a large photo as the space is small |
 |
| This is the opposite side - you can see what I'm doing better here |
 |
| The lower curved cabinet... |
 |
| ...and the upper |
 |
| Pattern drawn on for cutting |
 |
| A couple more vies to illustrate what I'm attempting... |
 |
| Here is what is left of the OE framing |
 |
| Pattern measured and cut - really cheesy imported plywood - but I got it cheap |
 |
| Trial fitting and it looks pretty damn good! |
 |
| I cut the top side ends long purposely so that I can add the "steps" |
 |
| See the top end cut with the step in it - I am hoping that they fit well |
 |
| Here is a pretty good view of the pattern clamped to the original framing |
 |
| Last trial fit....next is cutting from 3/4" plywood |

No comments:
Post a Comment