Monday, January 31, 2011

Progress

I've picked my pace up again and have some additional help so we are making good progress once more. Taylor and two of his friends, Garrett and Patrick, have been a tremendous help!


Here's the new work crew, Patrick on the left, Garrett in the middle and Taylor on the right - these guys rock!

The rain slowed for a few days allowing us to work outside

Here is a before photo of the rear curb side prior to rot repair...

An after pic of the same area, I used oak plywood to make a solid piece for the corner - I used the old lumber for temporary bracing
Street side before...

New framing completed, this is the area where the gray and black water tanks are located - Taylor is working on the mounting bracket and support for the tanks....again old  lumber is temporary bracing

Test fitting the outer skin

These young men are hard workers! I had trouble giving them enough to do...

This gives a sense of the framing requirements for the rear, all 4 corners seemed to be asymmetrical

Another view

I found that I needed to add 3/4" on the edges to make the skin fit properly, I cut 3/4" strips of plywood on my table saw to add to each side

Here we've installed a section of the interior paneling using screws and fender washers rather then nails

A closer view of the attachment method 


Interior shot, I pre-finished the birch prior to installing this time

This lower panel was a lot of work to attach securely, the bottom bend is very tight 

Seeing the back come together really re-energized me

This is where we stopped for this day- it looks great!

Patrick worked all day on the sander making the old cabinet wood smooth while removing the old finish 

Patrick did a great job as shown here..

On Saturday January 29th I returned to continue on the rear.  The crew joined me and we managed to make further progress.....

Before...


Before lower....


WOW! Like new - Garrett cut off the old beat up bumper which helps the looks a lot

Another view

It feels so good to be done with dry rot repair!

Another view with some interior paneling installed

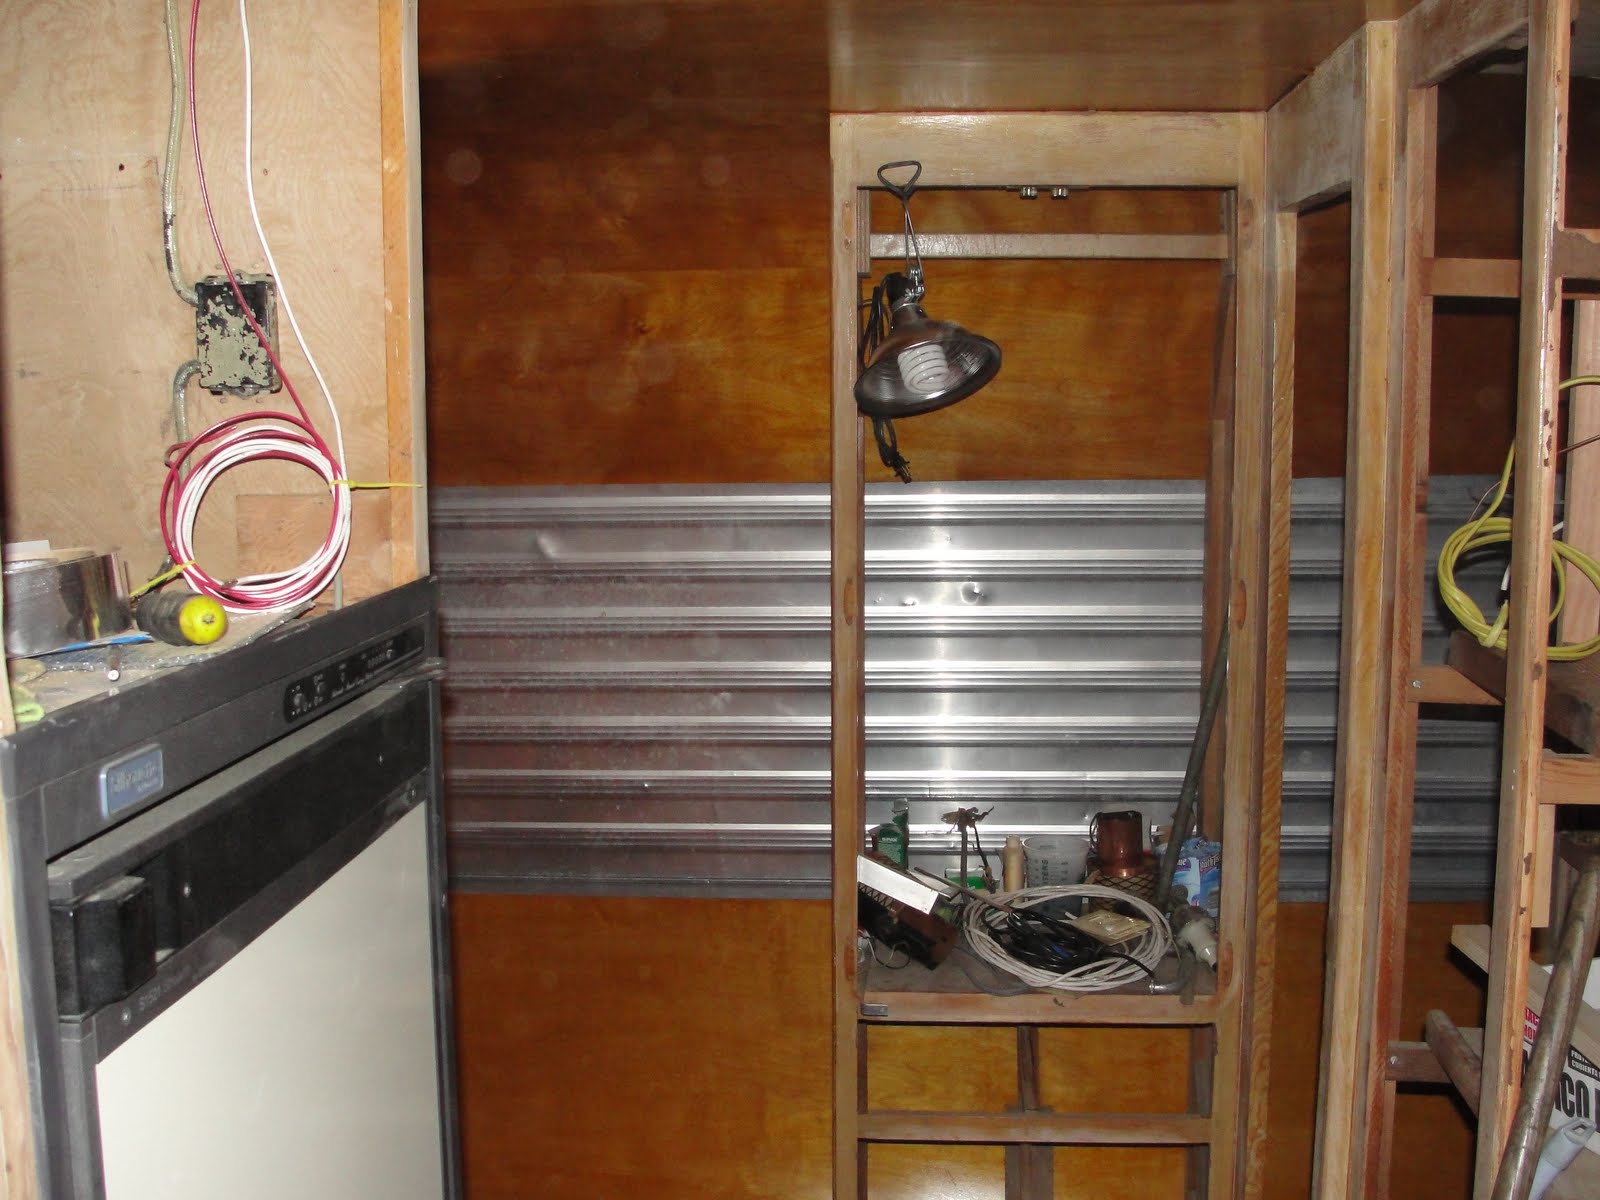
This is the location of the outside storage door

Here is what we started with in this corner

Another view of before...

The wood looks so warm.... The spots are from my camera, we decided that we are going to put a jack knife sofa here instead of the bunk beds. May add some cabinets too 

Garrett modified this cabinet to fit the new refrigerator

The skin fits perfectly - I'll be insulating when the weather allows


Wednesday, January 19, 2011

Framing Finale

I am very close to the completion of the framing and am happy to see light at the end of the tunnel....I'll be working hard on the electrical and plumbing so that I can insulate and get the skin back on ASAP. I've started polishing the window frames in my garage, pictures to be posted soon.

I've also started pre-finishing the Birch for the interior in my garage at home; something I should have done with the front area (especially the ceiling). Although the shellac is simple to apply and drys fast it is messy when reaching overhead.  I still need to complete the application of shellac up front and apply a second coat to what I started on as well. I bought a lambswool applicator and man what a difference in application! Fast too, I completed 4 sheets in about a half hour (first of 2 coats).  I'll do the final finish - similar to French polishing -when everything is done with the exception of the floor.

I have a new helper (more then a helper really as he has some great ideas) - my son Taylor started helping me this past Saturday. Quite a trooper as it was in the 30's to low 40's the whole day.  He is quite a good engineer and a hard worker. Lori helped on Jan 2nd and will be back when it gets warmer (can't blame her at all)... It's great to spend time with my son and I really appreciate his help and ideas.

The following photos are of the building of the rear curved framing and installation- as well as repairing the remaining dry rot.


Sunday January 2nd:

Here's the pattern on the oak plywood (2nd) sheet I bought - looks almost too nice to use for framing

My new jigsaw, got it for Christmas

Great blades are a must

Drawn out and ready to cut the first of four

Nice grain...

My attempt at keeping warm in the cold damp NW winter

Here is the installed framing on the street side - one corner to go!

The lower portion - I've not filled the floor yet as I want to get the gray/black water tanks installed first


I attached 1x2's between the pieces I fabricated and the cabinet to insure a good fit for the paneling and skin 

My best buddy using the jig saw - first time and she did awesome!  She may be cutting all the Birch for the interior as the edges were nearly perfect
Buddie

My regular befuddled look and several layers of clothing help me look like the prefesshinal I R! The curb side framing required the usual replacing of rotten wood and head scratching

A better view - luckily the floor is solid here


The next restoration I'll know what to do... hahahahahaha! Next one...right!

Using the oak plywood and 2x2's I made from old rough cut lumber sure makes a difference - solid and fit is good!


End of day photo - will finish this side next...

Saturday January 8th

Just as I left it...wish the elves would sneak in and do some work

My son Taylor dug right in - he is a worker!  He designed a mounting bracket for the gray water tank first - more on that later

Good to have him here as he is a meticulous worker and I am ready to be finished with the framing. He kept the quality on track

Odd that the curb side and the street side do not match at all, they are asymmetrical... I imagine like the houses of the era all was cut to fit as needed 

This side took nearly the whole day to complete, Taylor did a great job though.  I worked on  fitting the Dometic 2 way refrigerator in the same spot as the original... I hated to lose the old fridge but think it best... The little fridge that came out just might make that keg-o-rator I've been thinking about!


More soon including the refrigerator fitting, black/gray water tank install and wiring