Lots of progress made since my last post. The weather is exceptionally crappy for spring; even by Northwest standards. I have been able to pull the trailer out on a couple of occasions which makes working much easier.
I am searching for a small window to add to the entry door, prefer a Jalousie type - if you have one and want to sell it leave a comment and I'll contact you. Thank you!
The wiring is nearly done, added a 12 volt system and a couple of dedicated 15 amp circuits. I have the plumbing sorted out - mostly; and my awesome brother Butch is lending his expertise on the propane. Still need to mount the battery which I have decided to put on the trailer tongue.
I am hoping to put the skin back on in June and the windows too; pretty exciting to think about getting that far! I've started rebuilding all the Jalousie windows which turns out is pretty simple. The toughest part is polishing the outside frames...
We've got the upholstery and curtain fabric; the stainless back splash material and the Aqua Boomerang Formica. I got the Formica at Home Depot EVEN THOUGH IT IS DISCONTINUED. I contacted Formica directly who said it will be sold through June 2011 or until supplies run out whichever comes first.
Lori is back helping when she can; installed the light fixtures, shellacked some raw birch and insulated the roof -man I am a lucky guy! She's a great help and makes working on the trailer much more enjoyable.
Here are pics of our progress:
 |
| She is Back! |
 |
| Shellacking - learning patience and that dust and bugs are a pain- |
 |
| I bought these on eBay and the seller made the magazine rack for me with the Fireball "F" - |
 |
| Narrowing the bunk bed base to mount the jack knife sofa |
 |
| Here is the sofa trial fitted, it is a perfect fit... The upholstery is history, we have some very cool fabric that will recover this and cover the dinette cushions |
 |
| Another view.... |
 |
| ...and unfolded in the sleeping position |
 |
| As stated a perfect fit |
 |
| This will be used way more then the bunk beds ever would have. I plan to add storage above the sofa. |
 |
| This is one of the dinette seat bases after being rebuilt; the fresh water tank and pump will go under this one. |
 |
| Here is the back splash stainless, it matches the interior door perfectly. |
 |
| Installed the wheels/tires - what a difference! |
 |
| Yup pretty proud of myself on these! |
 |
| I'll be squeezing in this space to vent the refrigerator. I am going to vent at the top and bottom and make the cover removable - I do not want to add the big louvered panel to the exterior |
 |
| Cool huh?! Lori did a great job installing these, she added the pull cord switches after this pic was taken. |
 |
| They fit the theme of our trailer - relax and have a good time! |
 |
| Lori did an awesome job cutting the opening for the boxes |
 |
| Nice to be working out in the sun! |
 |
| Katrina has come a long way since September when we started on her! Might be time for a name change as she does not appear to be hit by a hurricane any more! |
 |
| Added a dedicated circuit to use for the fridge and microwave |
 |
| Yup I created a birdsnest.... |
 |
| It is a perplexing job to add 12 volts... especially when it's all brand new to me having never worked on an RV before |
 |
| In the forward section of the bathroom floor is where the power cord will be stowed. I bought a kit to convert the hard wired cord to the plug in type so it will be pretty slick |
 |
| Here is my hard working partner and best friend doing the insulation, as always she did a hell of a job! |
 |
| She is just so awesome, we celebrate our 20th anniversary this year - through thick and thin |
 |
| Happy and such a hard worker too |
 |
| Perfect installation |
 |
| Now for the rear |
 |
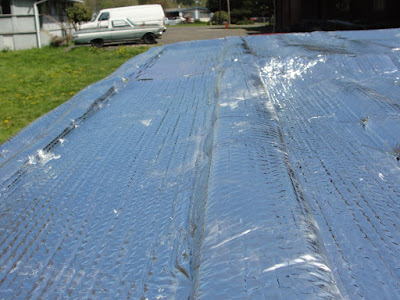
| The install requires an inch of airspace between the insulation and interior paneling - doing it correctly should keep the trailer comfortable all year round. |
 |
| Impressive work |
 |
| Add the wiring for lights and reskin! |
 |
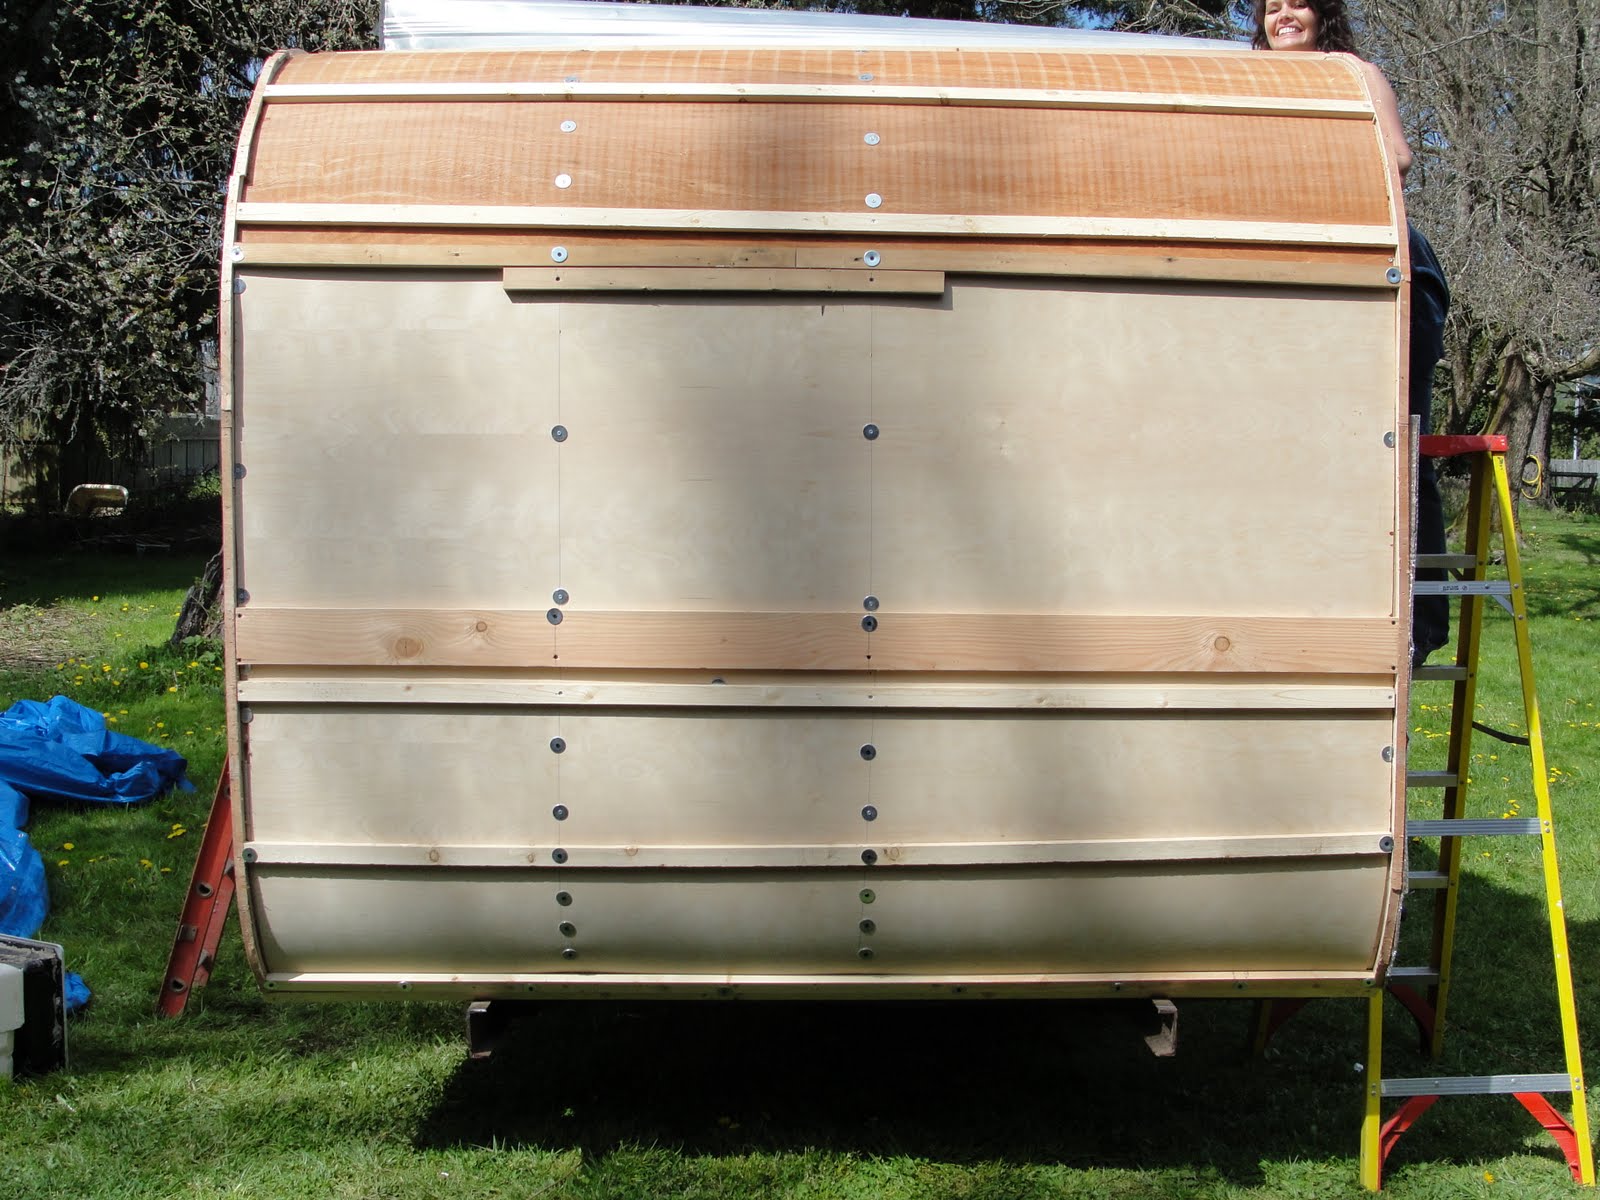
| Looks like a new trailer...cause basically it is! |
 |
| I used an old school toggle switch for the added porch light |
 |
Glass "beehive" is what I'm using for the porch light
|
 |
| This will go on the street side, a path light |
 |
| The 10 gauge wire run to the battery location |
 |
| I've not paneled the bath yet due to the work on the wiring and other systems |
 |
| This is the rebuilt (by me of course) light above the sing. It has both a 12 volt and 110 volt light in the fixture. I am not impressed with the look so am shopping for something more retro |
 |
| Fairly plain.... |
 |
| Thermostat for the new furnace which will be mounted under the sofa |
 |
| Here is the inside of the entry door...... |
 |
| ....and the same area after some polishing...man that is work! Looks great though! |
 |
| A better illustration of the before and after |