I can't be certain but believe that this trailer never had holding tanks for waste water; although that seems improbable. We plan to leave the shower out but want a toilet for obvious reasons...I am putting in a very small black water tank due to dimension constraints and the fact that I hope we do not use the toilet often. I've got it sorted out in my head and will test fit everything to see if "reality" matches my thinking... (uuhh yeah right!).
After doing all the re-frame work on the front the rear is coming fairly easily. The big question mark for me was how best to replicate the curvature at the top and bottom. In looking at everything my idea is to cut solid pieces from 3/4 inch plywood and laminate them together - meaning that I will have a continuous curved "stud" on each side rather then several pieces fitted together. I'll use the cabinet in the rear for a pattern as it has the radius cuts at top and bottom that are needed to accurately reproduce the lines.
Here are some photos of progress the past couple weeks...
 |
| Amazing how every corner and both the wheel wells rotted |
 |
| This is one of the curve cut 2x4s in the wheel opening, look at the staples that were used in 1959 |
 |
| A bit blurry but you can get an idea of the water damage on the rear lower area |
 |
| Another view - plus check out the old wire for a TV antenna, they musta been living large in this trailer! |
 |
| Looking down from the mid point... |
 |
| The white Styrofoam in the background is the water heater |
 |
| Why is it called "dry rot" anyway? |
 |
| With all the old framing removed.... |
 |
| I had already beat the plywood out that had been attached from underneath with about 200 roofing nails... |
 |
| Here is the area with both floor 2x2's cut out |
 |
| I considered sealing the bad wood with resin but decided that I'm too far into it to start taking shortcuts |
 |
| I took the old "outer" stud out all the way to the front of the wheel |
 |
| Here you see the new wood and wheel cut outs all installed. The OE dimensions make fabricating a challenge - particularly when you do not have a pattern to copy... |
 |
| Overall it came out nice - much stronger that is for sure |
 |
| Splicing the old and new together - lotsa heavy duty construction adhesive and #10 screws |
 |
| I switched from wood glue to this (duh!) its stronger, bonds faster and waterproof |
 |
| The fiberboard behind the new wood will be replaced from inside the trailer |
 |
| Here we have the "main" inner/outer studs installed; I used 1/4" shims between them to replicate the paneling and will fill this in with fiberboard and adhesive |
 |
| Looking good! |
 |
| You can see most of the completed work in this photo |
 |
| I re-framed this area since taking the pictures- rectangle is the bath window |
 |
| Inside looking out |
 |
| This is where the potty will sit |
 |
| That is it for now...I plan to fab the "radius" studs for the back wall over this coming weekend...keeping my fingers crossed! |
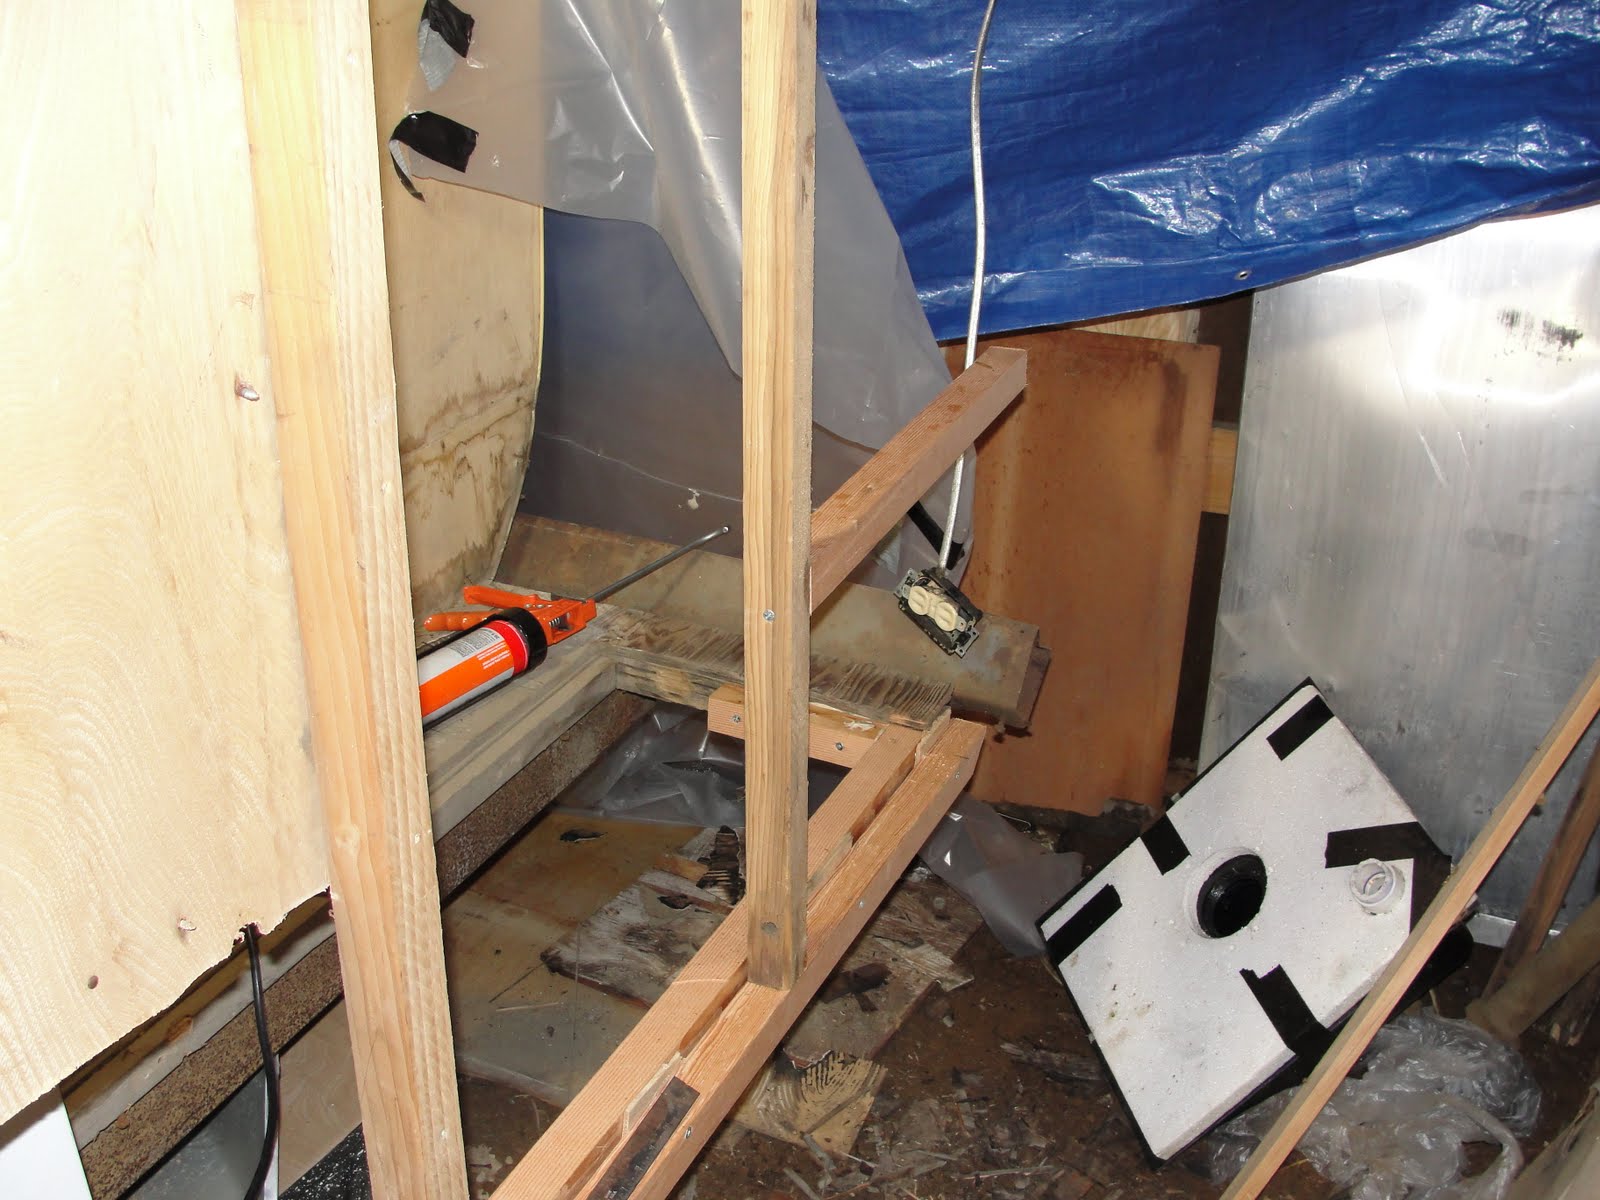
Old black water keep on rollin', Mississippi moon won't you keep on shinin' on me.... It's a Doobie Brothers song for all you youngsters; I thought it fitting for these next group of pics...
 |
| Remember this? You can see where the water inlet hole is filled - with plumbers putty! |
 |
| I nearly ripped this apart during the deconstruction of the rear but it's solid so I'm gonna reuse it |
 |
| No water damage on the underside |
 |
| The black water tank that I bought from my friends Brittany and Jay - thanks guys it's perfect!(well almost) |
 |
| The size was made for my application - although its only 9-10 gallons it will serve it's purpose for those midnight urges |
 |
| I used a hole saw to enlarge the putty filled hole to use for the vent pipe (which I've not fully figured out yet) |
 |
| Perfect size |
 |
| Here I've reassembled the tank with the foam insulation |
 |
| Wow! I was pleasantly surprised by the good fit |
 |
| I'm going to get a scrap of linoleum for the top |
 |
| Okay so it was going soooo smoothly! The drain is located on the inside and when I test fit it hit on the floor - no problem I thought until I went to cut an access hole, the steel frame rail is located right below the drain location! I turned the whole assembly around and it fit perfectly so I am going to relocate the vent (seen here in the front) to make it work. An update later... |
No comments:
Post a Comment