I completed the rebuilding of the front upper storage bin and reinstalled the factory made fascia and mirrors... as always this required several hours of trimming and fitting. It looks really good and fits well so I'm happy with the results. I also finished the door frame and jamb; this required ripping poplar to the correct dimensions as new lumber is cut slightly smaller then when this trailer was manufactured; I have discovered and purchased "reclaimed" lumber for framing the rear areas once I get started so I'll be buying a planer to make exact duplicate dimensions...ya can never have too many tools:-)
I also finished the Birch Paneling on the curbside and started the trim... 1/4" round around the ceiling and 1/4"x1/2" flat trim for all the seams between panels.
The last thing I worked at was the coating of fiberglass resin; the cabinet at the entry had a spot of soft wood I coated. I will be coating most of the framing as well a little at a time...it's a messy, toxic job best completed a "Bite" at a time.
Check out the laminate flooring we found on clearance at Lowe's...killer deal at 70 Cents a square foot! I've read that laminate is preferred over hardwood due to the moisture resistance and durability...
I'm also going to add a couple of new pages; one on all the era correct "props" we have been finding for the trailer that will add to the fun of camping in her. The other is on all the various tools I'm using to do the work; most I've acquired over time and some I have purchased for this project but will be used for a long time to come on future projects...
Here are the photos...enjoy!
 |
| Here's the base of the storage bin above the Dinette where I left off.... |
 |
| The other side... |
 |
| My handy Makita drill driver...compact and has torque enough to drive long screws; also have the impact driver |
 |
| I used stainless screws everywhere; this one is 3.5 inches and secures the storage bin at the sides |
 |
| Secured with stainless screws at the rear as well |
 |
| The front fascia required a bit of trimming and fitting |
 |
| Measure twice cut once right? Measure at least twice..... |
 |
| Making it fit and holding it in place with extra "hands"....clamps are my new tool of choice |
 |
| Fits good on both sides...I feel lucky... |
 | |||
| Looking good...It was quite cold so the plastic was keeping the wind out and me semi warm |
 |
| A reminder of "before"... |
 |
| "After" with lotsa sweat and cursing along the way! I attached the top from the roof side securing it through one of the roof trusses - it is solid! |
 |
| Another reminder...during demolition just over 6 weeks ago! |
 |
| Now - good progress for working on it mostly on weekends |
 |
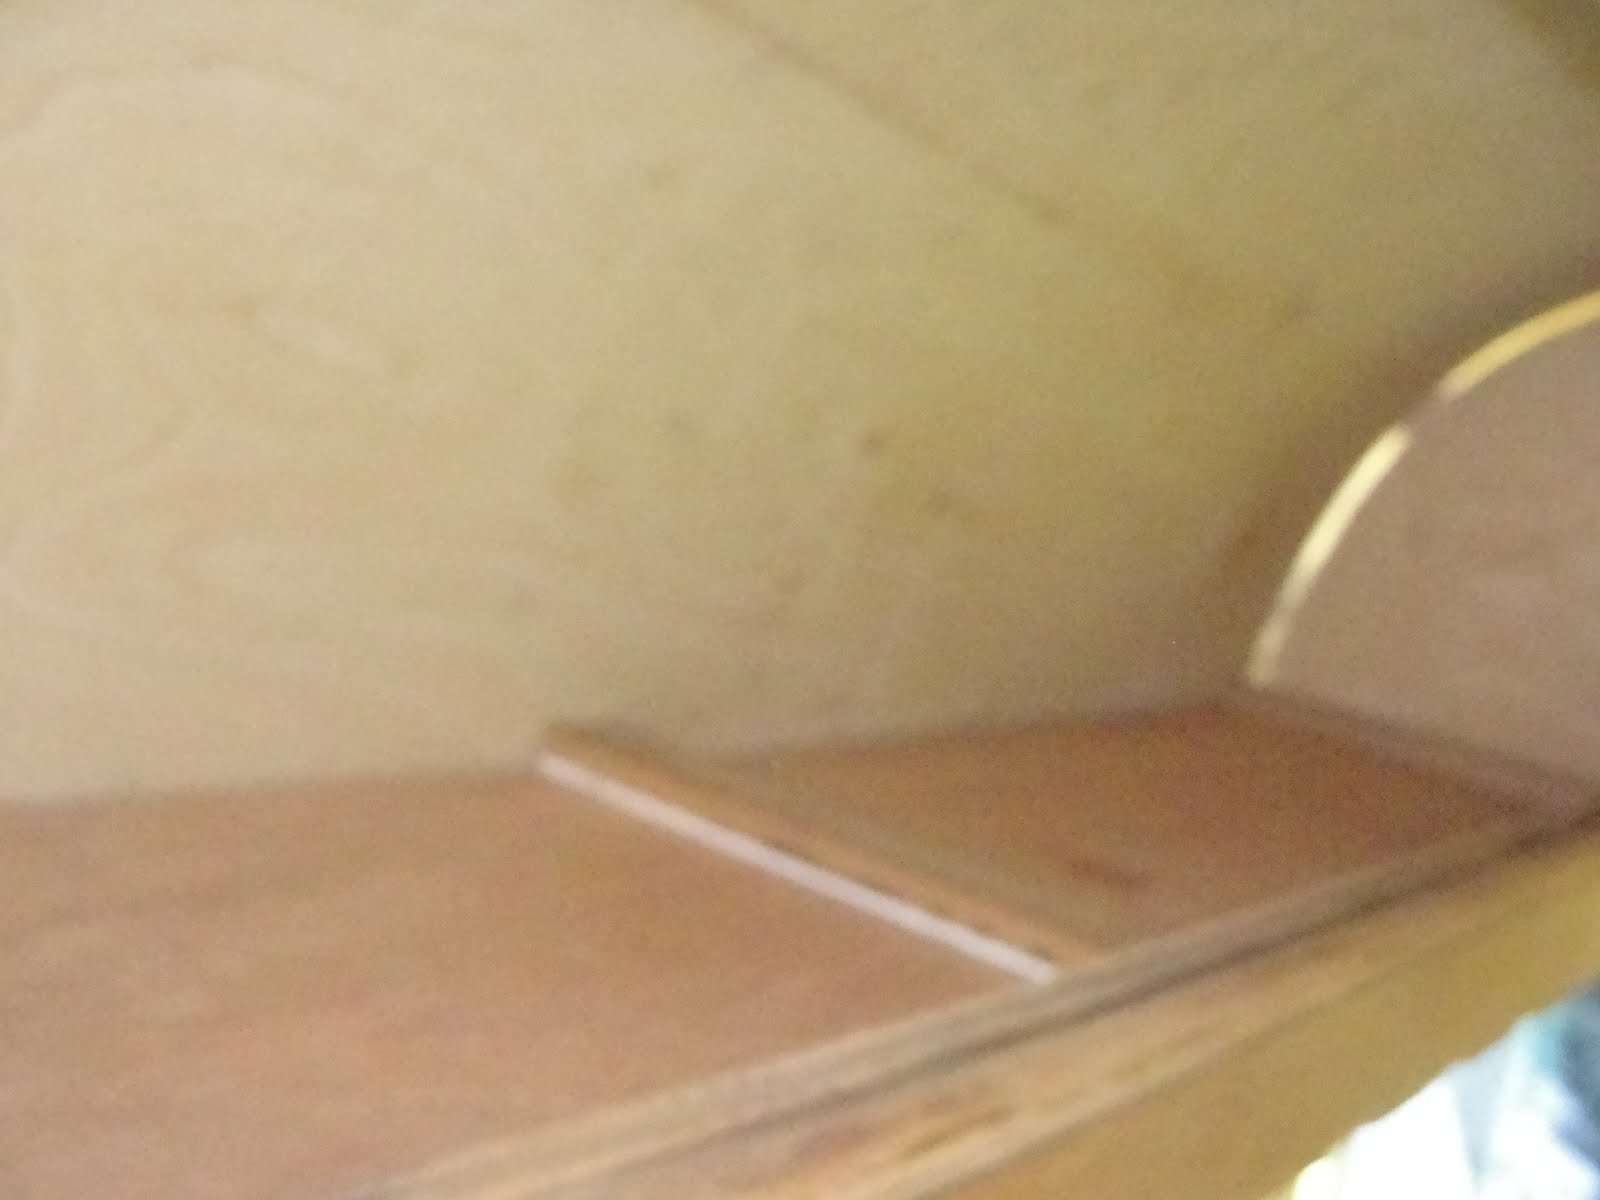
| The underside - I wish all the panels fit together as nicely as this does.... |
 | ||
| Other side of the bottom.... I just love all that new wood |
 |
| Before....inside storage bin street side |
 |
| Ta da! I will be finishing out this area even though this is how it was delivered from the factory back in 1959 |
 |
| The OG mirrors are cool..even dated October 1958! |

 |
| Mirrors installed - finally seeing the light at the end of the tunnel... at least for this portion of the restoration |
 | |||||||||||
| Getting there a piece at a time... |
This next series of photos is the rebuilding of the door Jamb and trim installation
 | ||||
| Last week the door frame and trim were non existent |
 |
| My Dremel Trio worked perfectly to duplicate the trim detail...clamps..... ya can't have too many! |
 |
| Here is the result prior to any sanding or finishing |
 |
| A mix of old and new here...getting the finish to match will be interesting.... |
 |
| Flat trim is installed on the Birch where the seams come together |
 |
| Pretty close to being finished on this side.. |
 |
| A shame most of the wood is covered with Aluminum |
 |
| Can't wait to see it done.... |
This last group is the resin application and some miscellaneous pics....
 |
| So I guess you cannot leave resin on the shelf indefinitely after opening.... this cap was a real bitch to get off! |
 |
| The remains of the can... I won't be saving any left overs! |
 |
| I intend to coat all of the framing paying particular attention to areas vulnerable to moisture...I am coating the old framing with 2 coats to insure the new stainless screws I bought for the skin and windows fit snugly |
 |
| The bottom of this cabinet had a small area of soft wood so I am reinforcing it prior to fitting with veneer |
 |
| The windows were re-fastened with various size screws so I am filling the holes with resin as well |
 |
| Yeah I wish I were to this point in the process...if I were installing the floor everything else would be done! |
 |
| The reddish Pine will be a nice contrast to the Birch walls |
 |
| A close up - |
No comments:
Post a Comment